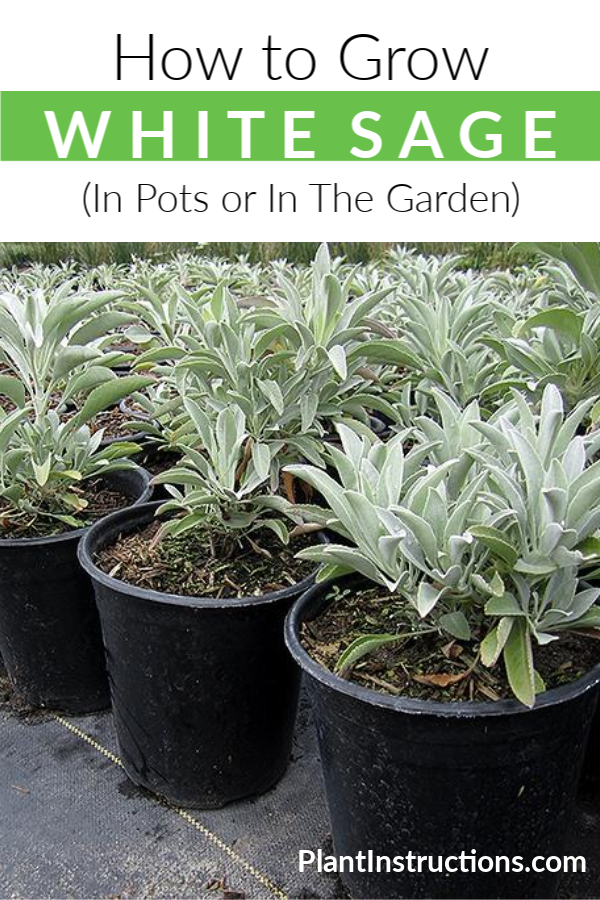
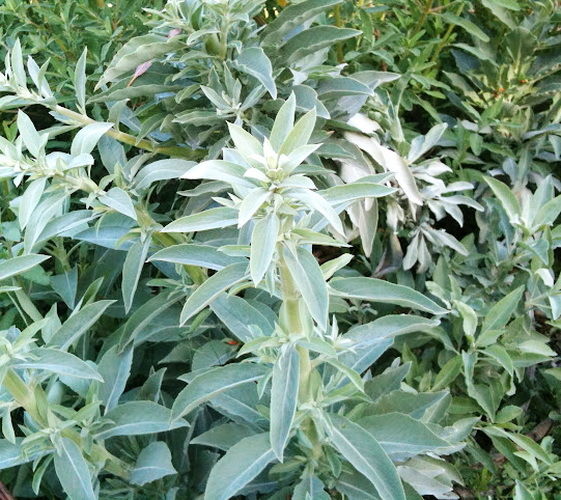
Hardy in zones 8 through 11, white sage (Savia apiana), is a small evergreen shrub that's native to California. White sage grows as a perennial in those zones, but can also be grown as an annual in other zones. This herb was used as a medicinal plant by Native Americans, but is also used for culinary purposes. Learning how to grow white sage is easy as this herb can be planted by seeds, requires minimal upkeep, and is great for attracting beneficial insects to your garden!
How to Grow White Sage in The Garden or in Pots
Planting White Sage
- Start by sowing seeds indoors in early spring.
- Do this by filling small potting trays with potting mix and spreading the seeds on top of the soil.
- Mist with water and place the seed tray in a room temperature medium with sun.
- Ideally, the seeds should be kept at a temperature of 68-86 F (20-30 C).
- Be sure to mist the tray regularly, and avoid waterlogged soil.
- Germination should occur within 14 to 21 days.
- Once the seeds grow true leaves, transplant the herbs to larger pots.
- Keep the pots in a sunny location and water once the soil gets dry.
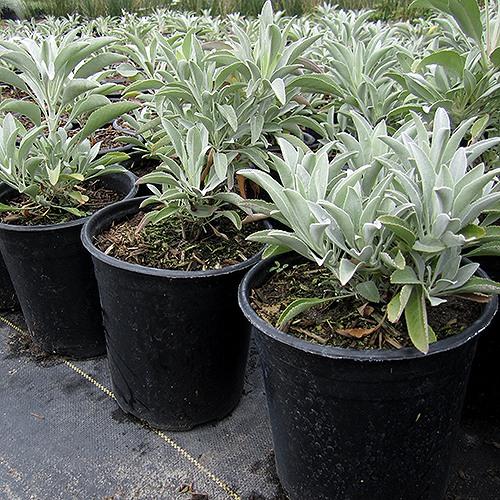
If you'd like to keep your white sage plant in pots, you can certainly do so! Just be sure to place the pots in a sunny location and ensure that the soil and pot is well draining!
Transplanting White Sage:
- Once the temperature has warmed outside and no danger of frost will come, it's time to transplant your white sage.
- Choose a location with full sun and well draining soil in your garden.
- Mix in some sand or compost into the soil. This will improve with drainage, as white sage does not like soggy soil.
- Plant your sage into the soil firmly and tamp down.
- Only water when soil is dry.
- Prune after flowering to encourage more growth.
Now that you know how to grow white sage, it's time to roll up your sleeves and get to planting!
Like this post? Share, Pin, and Comment Below 🙂
