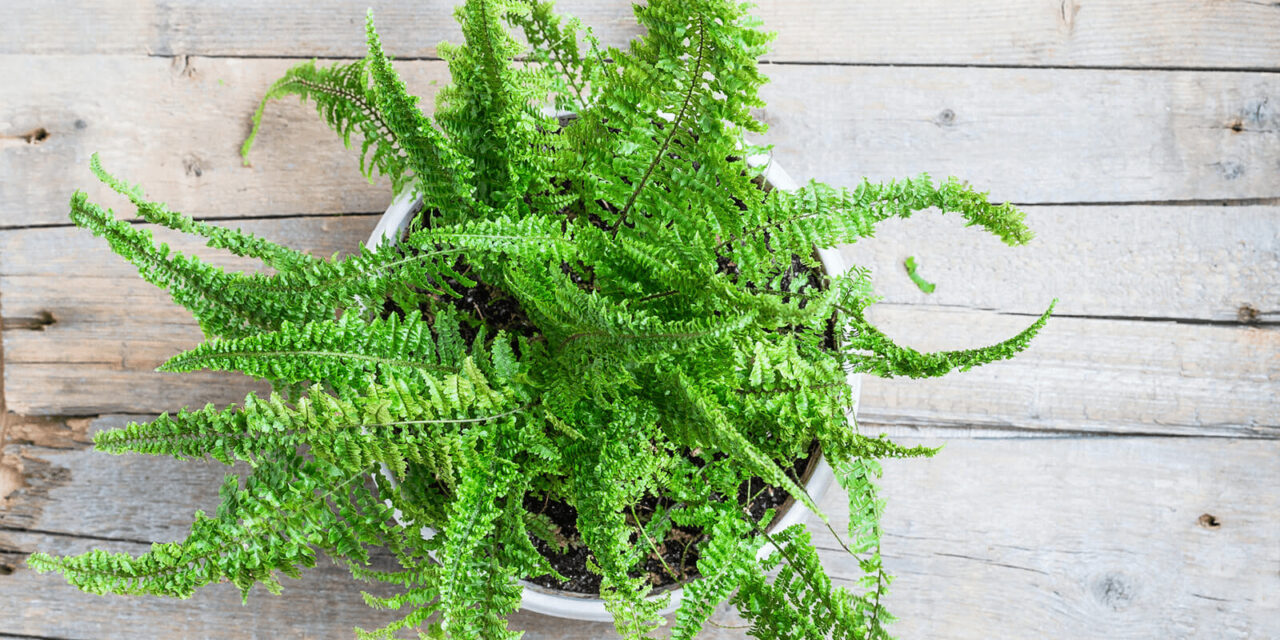
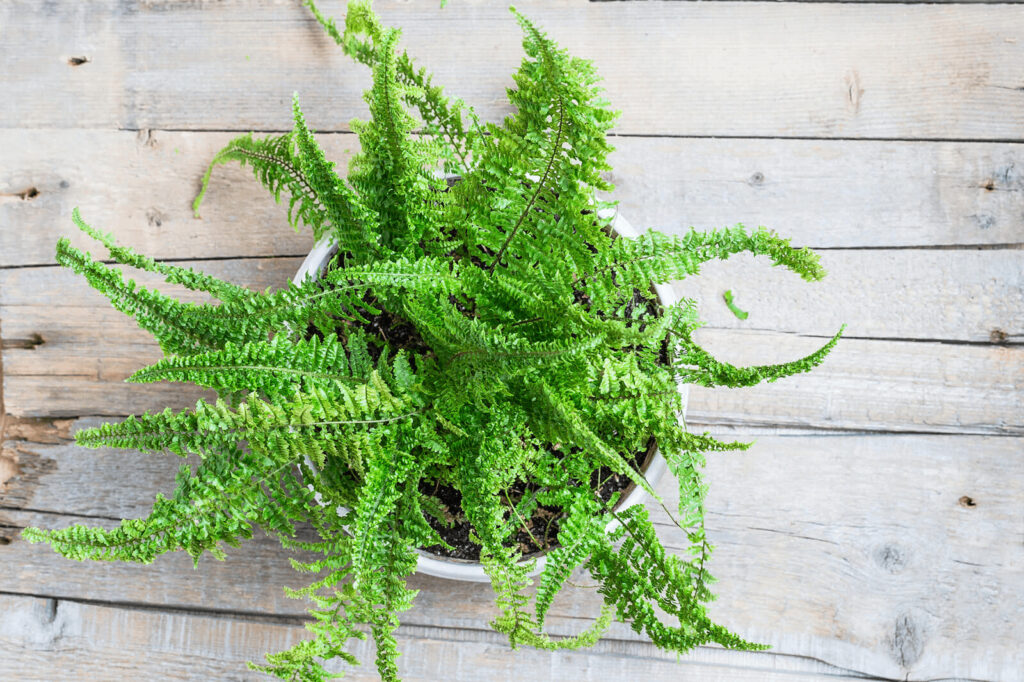
Boston ferns (Nephrolepis exaltata) are elegant, lush green plants that can add a touch of tropical beauty to any indoor or outdoor space. With their feathery fronds and graceful arching growth habit, these ferns have become a popular choice for plant enthusiasts and beginners alike. If you're looking to cultivate and care for Boston ferns, this comprehensive guide will provide you with all the information you need to ensure your ferns thrive.
Choosing the Right Location
To start off on the right foot, it's essential to select an ideal location for your Boston fern. Here are a few key factors to consider:
- Light: Boston ferns prefer bright, indirect light but can tolerate some direct morning or evening sunlight. Avoid exposing them to intense, direct sunlight as it can scorch their delicate fronds.
- Temperature: These ferns thrive in moderate temperatures between 60-75°F (15-24°C). Protect them from drafts and extreme temperature fluctuations.
- Humidity: Boston ferns enjoy high humidity levels. Consider placing them in a bathroom, near a humidifier, or on a tray filled with pebbles and water to increase humidity.
- Air Circulation: Adequate air circulation is vital to prevent stagnant air around the ferns. Avoid placing them in a spot with no air movement, such as near heating or cooling vents.
Potting and Soil Requirements
Proper potting and soil conditions are crucial for the health and growth of Boston ferns. Follow these guidelines:
- Pot selection: Choose a pot that provides ample drainage and is slightly larger than the fern's root ball. Plastic or clay pots work well.
- Soil type: Use a well-draining potting mix that retains moisture while allowing excess water to flow through. A mix of peat moss, perlite, and compost works well for Boston ferns.
- Potting process: Place a layer of small stones or broken pottery at the bottom of the pot for drainage. Fill the pot halfway with the potting mix, gently place the fern's root ball on it, and add more soil to cover the roots.
Watering and Feeding
Watering and fertilizing correctly are essential aspects of Boston fern care:
- Watering: Keep the soil consistently moist but avoid waterlogging. Water when the top inch of soil feels slightly dry to the touch. Ensure proper drainage to prevent root rot.
- Humidity maintenance: Mist the fronds regularly or use a humidifier to maintain adequate humidity levels.
- Fertilization: Feed your Boston fern with a balanced, water-soluble fertilizer every two to four weeks during the growing season (spring and summer). Use a diluted fertilizer solution to prevent burning the fern's roots.
Pruning and Maintenance
Regular pruning and maintenance are necessary to keep your Boston fern healthy and looking its best:
- Trimming: Remove yellow or brown fronds regularly to encourage new growth and maintain the plant's aesthetics.
- Division: Over time, your Boston fern may outgrow its pot. Divide the plant by carefully separating the root ball into smaller sections and repot them individually.
- Cleaning: Dust the fronds gently with a damp cloth or place the plant under a gentle shower to remove accumulated dust and maintain healthy leaf surfaces.
Common Pests and Diseases
While Boston ferns are generally resilient, they can still face a few common pests and diseases:
- Pests: Keep an eye out for pests such as aphids, mealybugs, and scale insects. Regularly inspect the fronds and treat infestations with insecticidal soap or neem oil.
- Diseases: Boston ferns can be susceptible to fungal diseases like root rot and leaf spot. Avoid overwatering and ensure proper air circulation to prevent these issues. If you notice signs of disease, remove affected fronds and treat with a fungicide if necessary.
Propagation
If you want to expand your Boston fern collection or share the joy of growing them with others, propagation is a great option:
- Division: As mentioned earlier, you can divide an established Boston fern by carefully separating the root ball into smaller sections. Each section should have a few healthy fronds and roots. Plant these divisions in separate pots and care for them as usual.
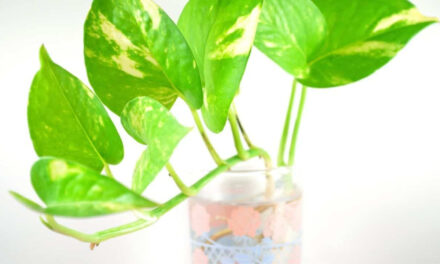
- Spores: Boston ferns also produce spores on the underside of their fronds. To propagate from spores, collect mature spores and sow them on a moist, sterile growing medium. Cover the tray with plastic to create a humid environment and wait for the spores to germinate and grow into ferns.
Troubleshooting Common Issues
Even with proper care, Boston ferns may encounter a few challenges. Here are some troubleshooting tips for common issues:
- Fronds turning brown: Brown fronds may indicate underwatering, low humidity, or exposure to direct sunlight. Adjust watering habits, increase humidity, and relocate the fern to a more suitable spot.
- Yellowing fronds: Yellowing fronds can be a sign of overwatering or nutrient deficiencies. Ensure proper drainage and adjust your watering routine. Consider fertilizing with a balanced fertilizer to address nutrient deficiencies.
- Wilting fronds: Wilting fronds often result from underwatering or exposure to extreme temperatures. Check the soil moisture and adjust watering accordingly. Protect the fern from drafts and temperature extremes.
- Stunted growth: Insufficient light, low humidity, or overcrowding can lead to stunted growth. Provide adequate light, increase humidity levels, and consider repotting if the plant has outgrown its current container.
Growing and caring for Boston ferns can be a rewarding and fulfilling experience. By providing the right environmental conditions, proper watering and feeding, regular maintenance, and prompt attention to pests and diseases, you can enjoy the beauty and elegance of these stunning ferns in your home or garden. With the knowledge and tips shared in this comprehensive guide, you are well-equipped to cultivate thriving Boston ferns and create a verdant oasis of tropical charm. Happy gardening!


